SpringMVC涉及到了Web处理,和Spring开发还不太一样。
需要的前置技能:HTML5,CSS3和JavaScript可选。
首先下载Apache Tomcat,仅仅分为windows平台和其它平台。
Java企业级开发常用的Servlet容器是Apache Tomcat。
注意Tomcat10会有不兼容现象!
下载压缩包之后找个固定的地方解压,后面还要在Eclipse里面选。
打开Eclipse的Preference选项,找到Server项并展开,点击Runtime Environment:
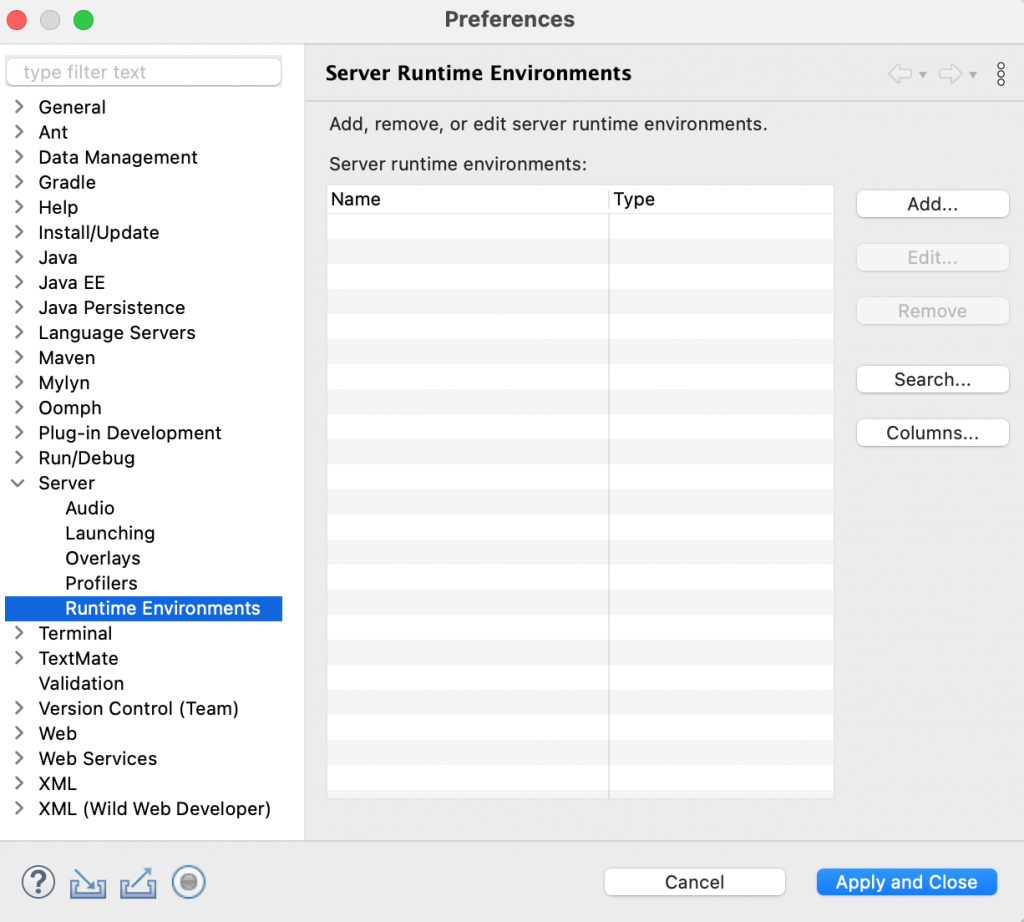
点击右边的Add按钮:
里面有很多可以选的,但是只需要选刚刚下载的Apache Tomcat v9.0:
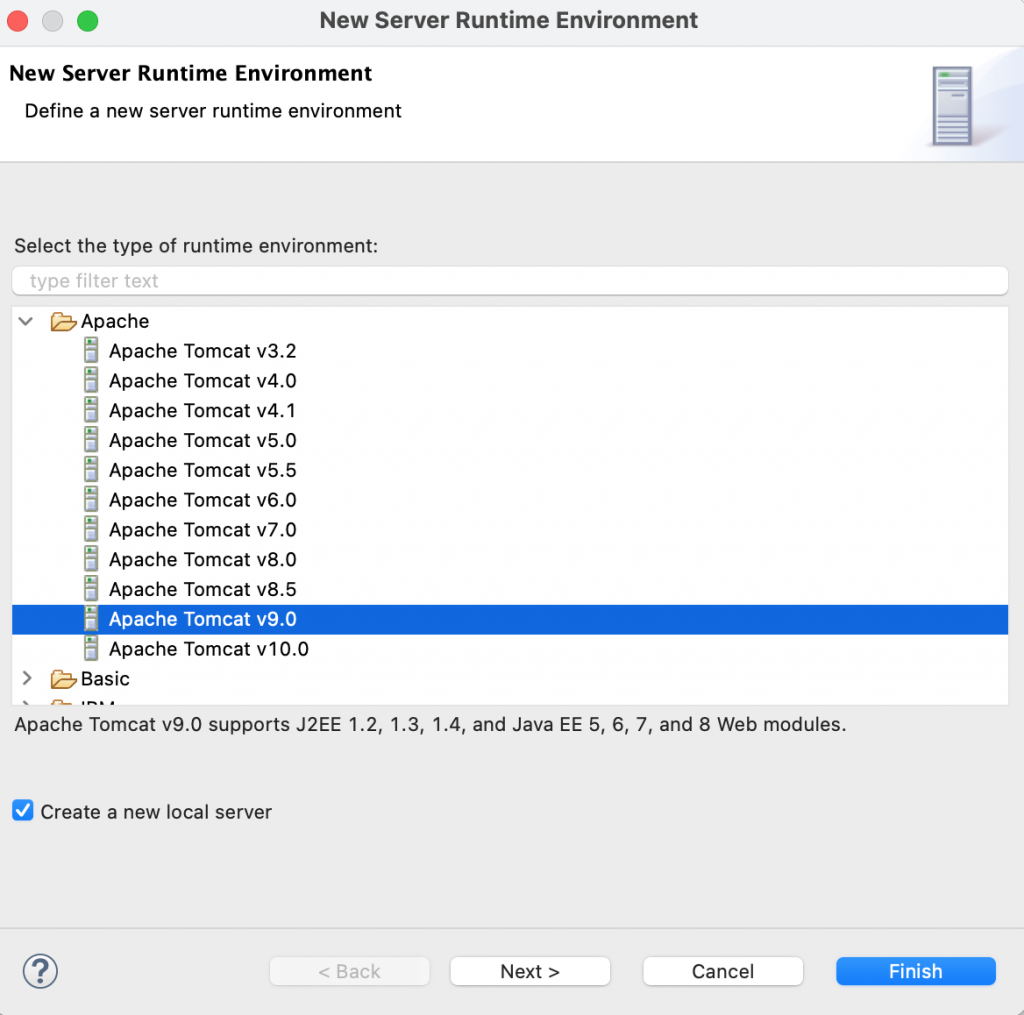
勾选下面的Create a new local server可以自动创建一个新的本地服务器。
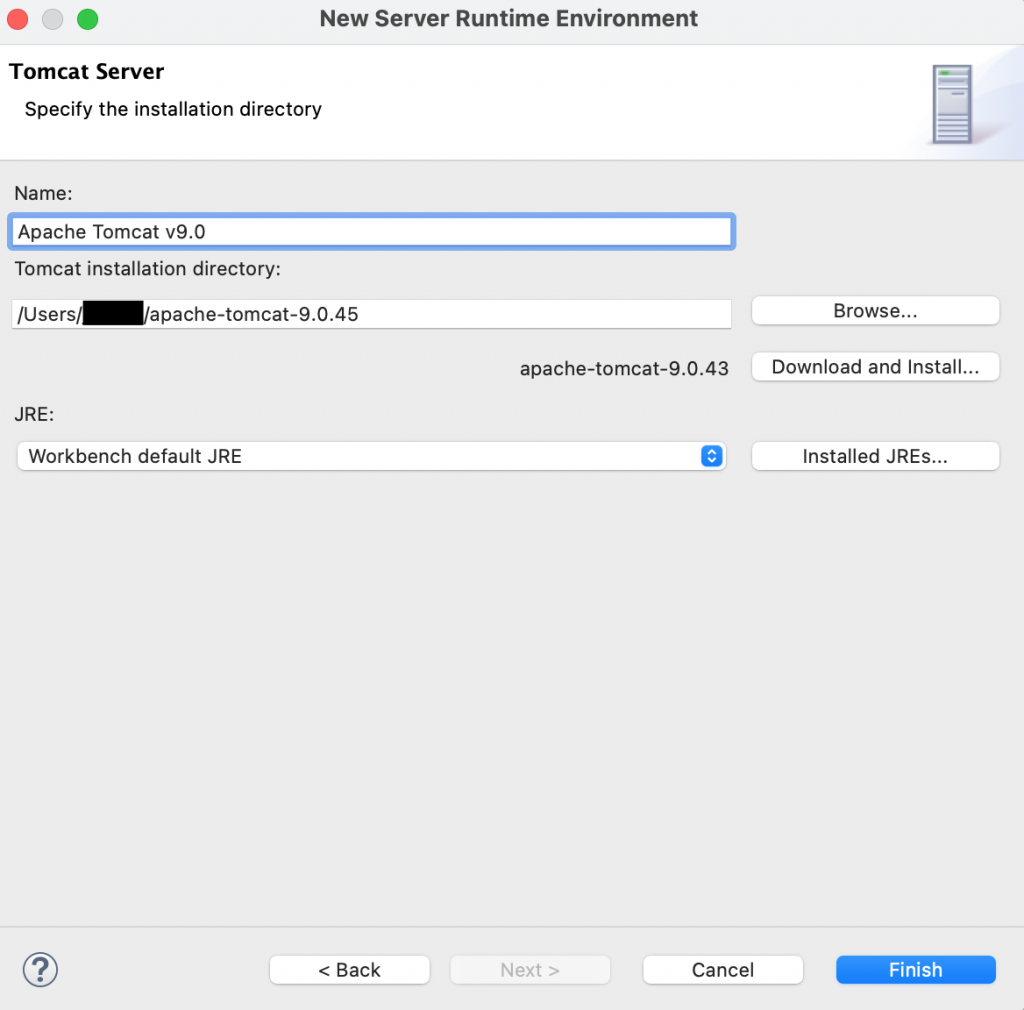
然后选择下载的Tomcat解压后的文件夹,点击Finish就好了:
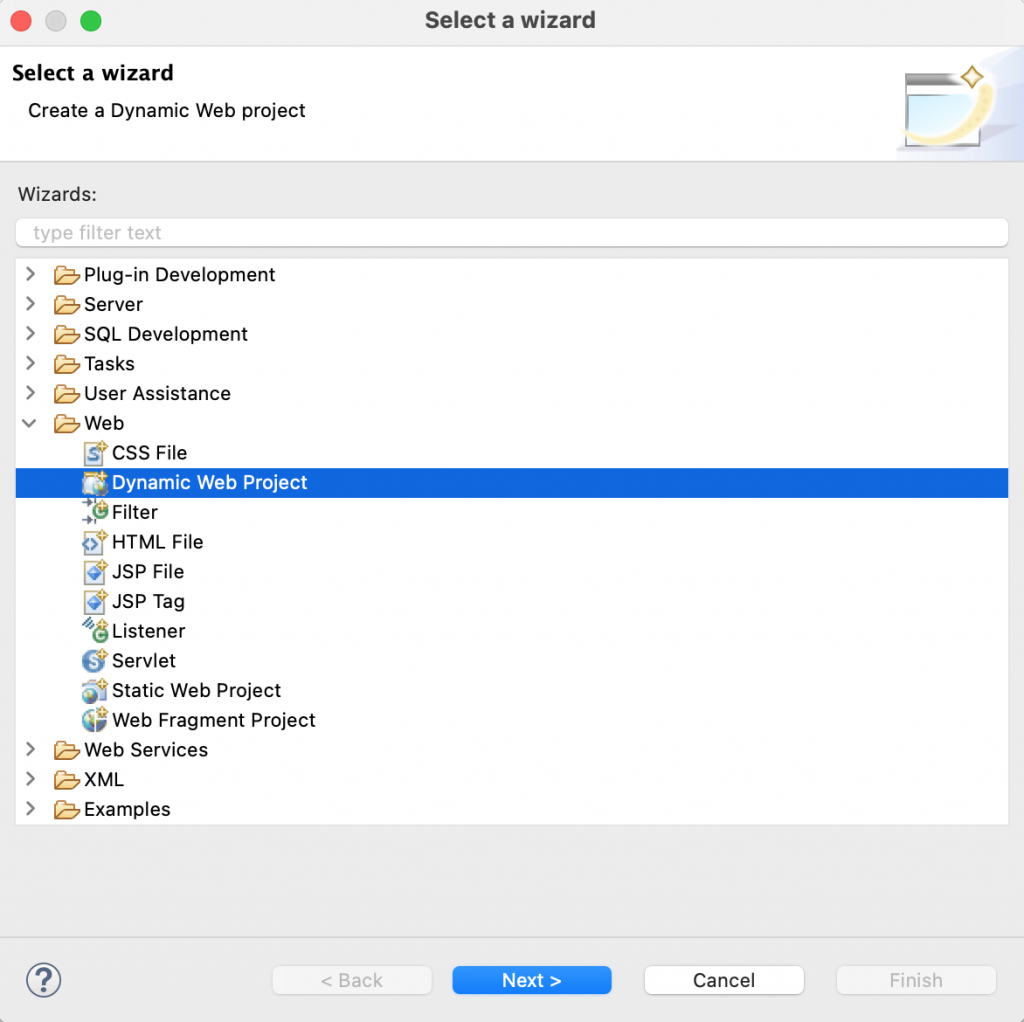
之后新建一个动态Web项目:
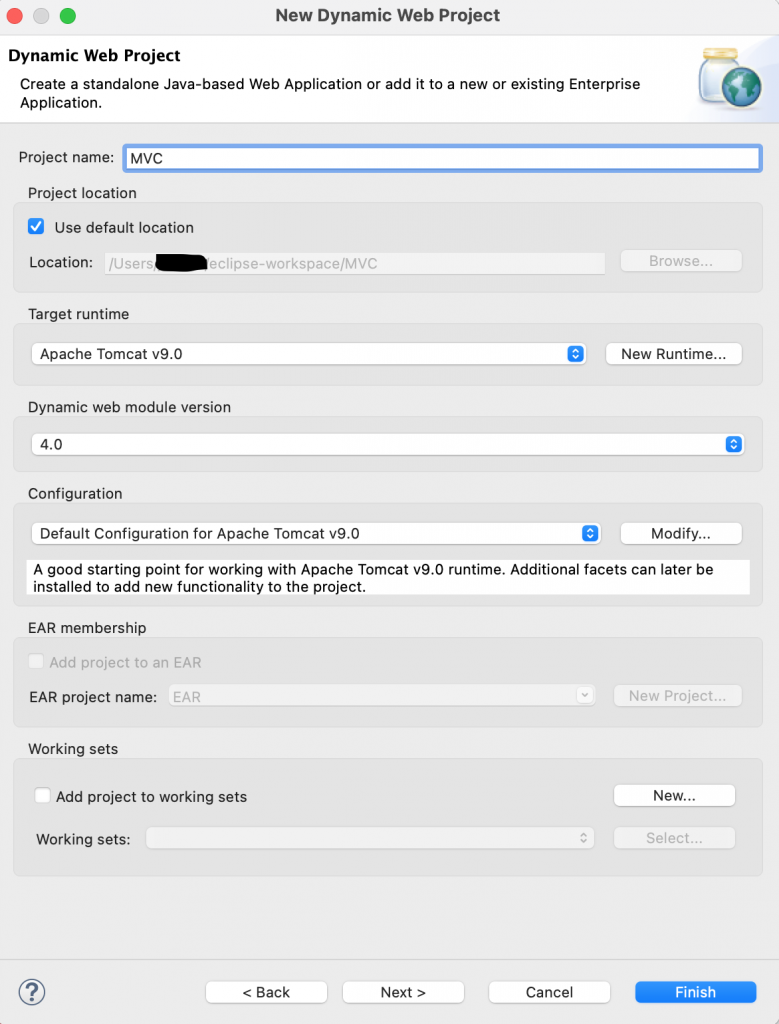
点击Next,输入项目名,运行环境Eclipse会自动选择刚才添加的Tomcat服务器。
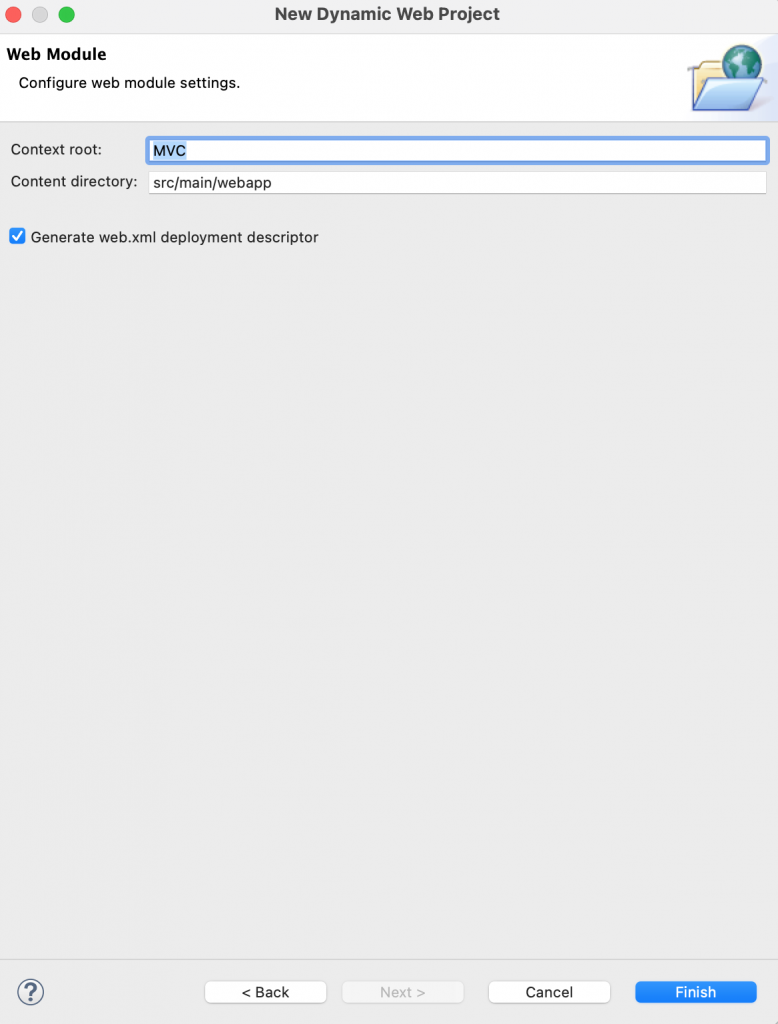
一路Next,最后面要勾选Generate web.xml,不然要自己手动添加:
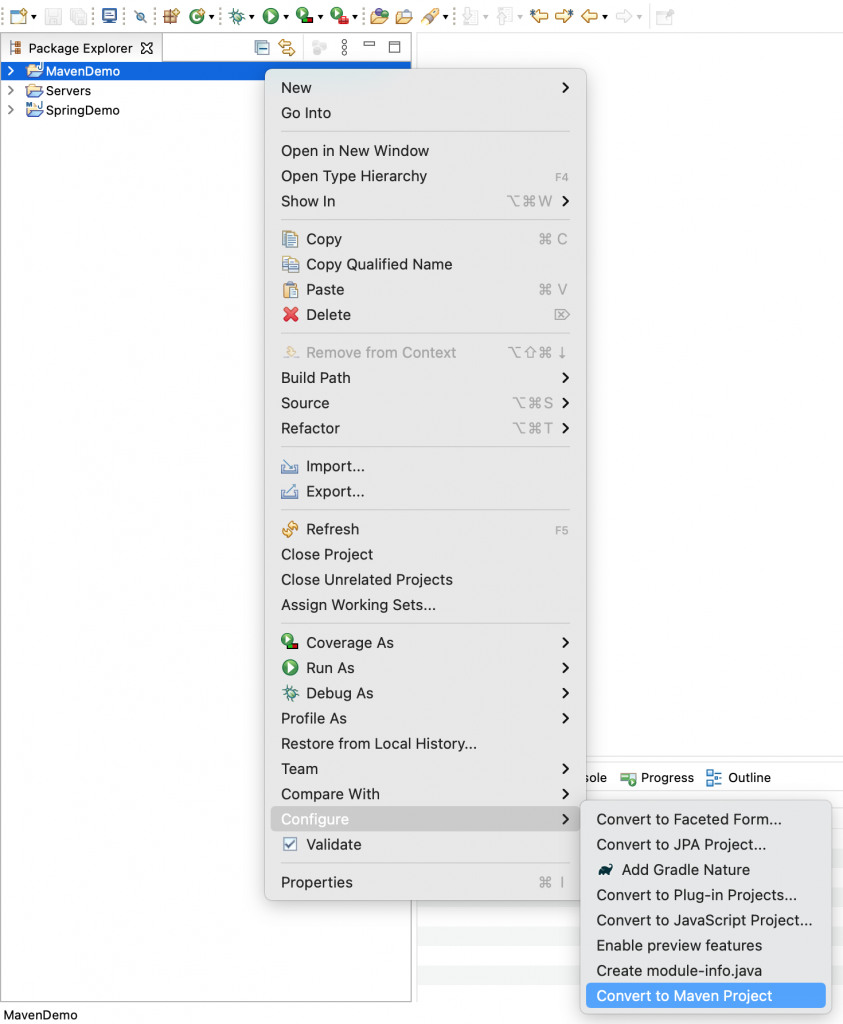
点击Finish后,右键选择刚刚创建的项目,将它转换成Maven项目:
里面的内容可以按需要填写:
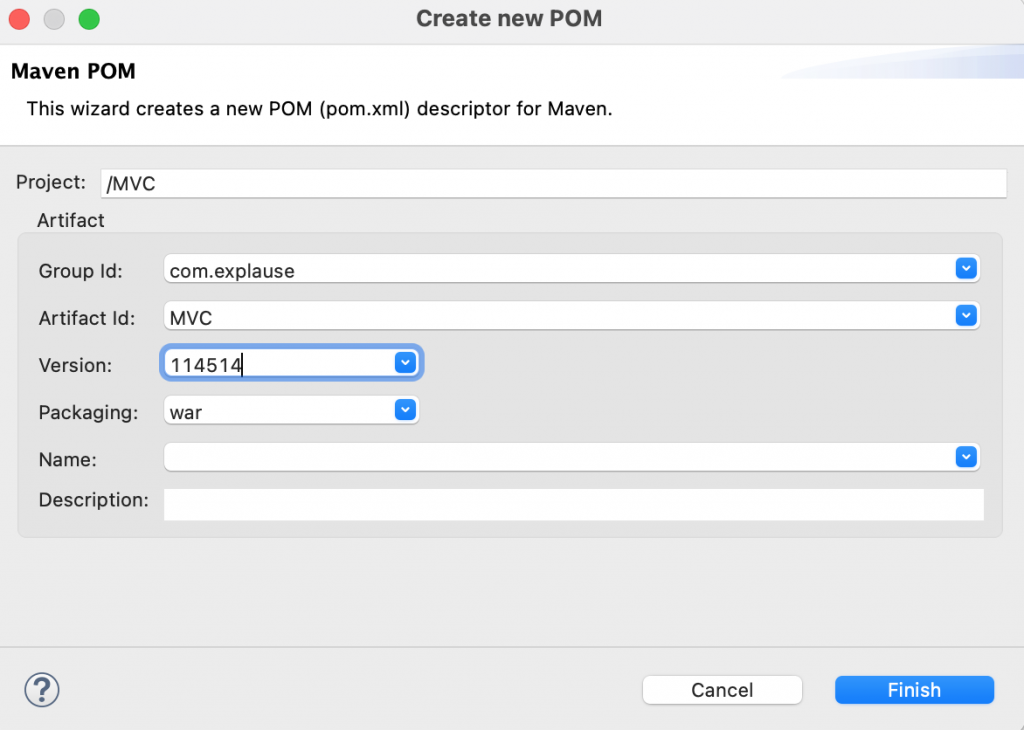
点击Finish后再打开pom.xml添加依赖:
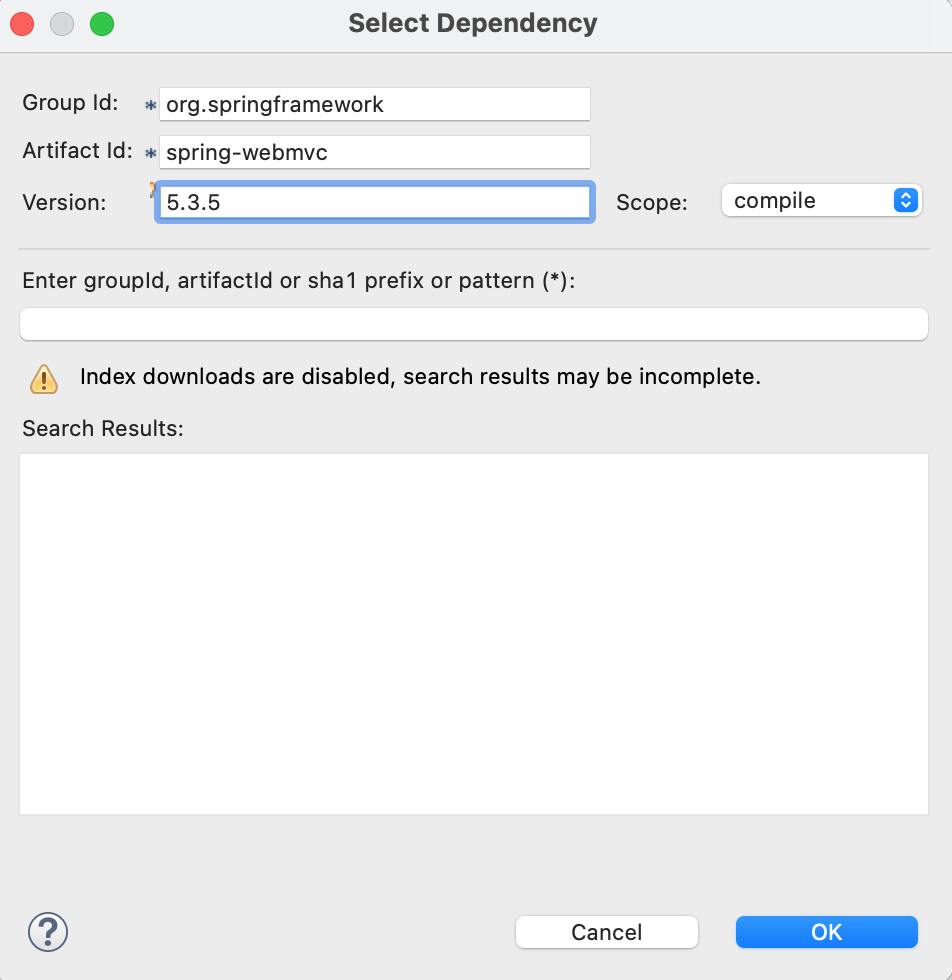
之后就是常规的添加新的包、类等操作了。
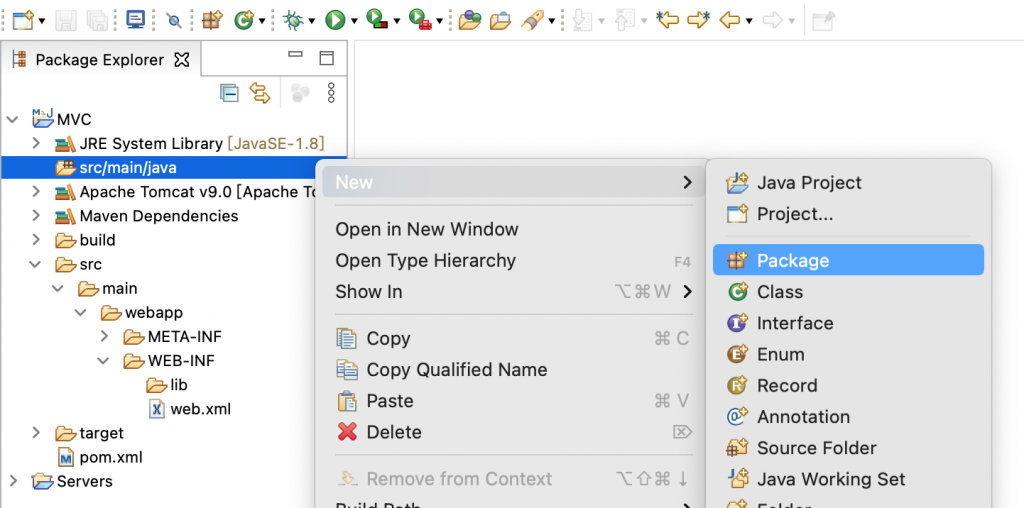
再来一个HelloWorld的例子:
创建一个com.explause.main的包,然后创建一个类,类名随意,就叫HW好了:
然后输入控制器的代码:
package com.explause.main;

import org.springframework.stereotype.Controller;
import org.springframework.ui.ModelMap;
import org.springframework.web.bind.annotation.GetMapping;

@Controller
package com.explause.main;

import org.springframework.stereotype.Controller;
import org.springframework.web.bind.annotation.GetMapping;
import org.springframework.web.servlet.ModelAndView;

@Controller
public class HW {
	@GetMapping("/")
	public ModelAndView printHW() {
		return new ModelAndView("HW", "message", "Hello World");
	}
}
web.xml:
<?xml version="1.0" encoding="UTF-8"?>
<web-app xmlns:xsi="http://www.w3.org/2001/XMLSchema-instance" xmlns="http://xmlns.jcp.org/xml/ns/javaee" xsi:schemaLocation="http://xmlns.jcp.org/xml/ns/javaee http://xmlns.jcp.org/xml/ns/javaee/web-app_4_0.xsd" id="WebApp_ID" version="4.0">
<display-name>MVC</display-name>
<servlet>
<servlet-name>HW</servlet-name>
<servlet-class>org.springframework.web.servlet.DispatcherServlet</servlet-class>
<load-on-startup>1</load-on-startup>
</servlet>
<servlet-mapping>
<servlet-name>HW</servlet-name>
<url-pattern>/</url-pattern>
</servlet-mapping>
</web-app>HW-servlet.xml:
<beans xmlns = "http://www.springframework.org/schema/beans"
xmlns:xsi = "http://www.w3.org/2001/XMLSchema-instance"
xmlns:context = "http://www.springframework.org/schema/context"
xmlns:aop = "http://www.springframework.org/schema/aop"
xmlns:mvc = "http://www.springframework.org/schema/mvc"
xsi:schemaLocation = "http://www.springframework.org/schema/beans
http://www.springframework.org/schema/beans/spring-beans-3.0.xsd
http://www.springframework.org/schema/context
http://www.springframework.org/schema/context/spring-context-3.0.xsd
http://www.springframework.org/schema/aop
http://www.springframework.org/schema/aop/spring-aop-3.0.xsd
http://www.springframework.org/schema/mvc
http://www.springframework.org/schema/mvc/spring-mvc.xsd">
<context:component-scan base-package="com.explause.main"/>
<bean class="org.springframework.web.servlet.view.InternalResourceViewResolver">
<property name = "prefix" value = "/WEB-INF/" />
<property name = "suffix" value = ".jsp" />
</bean>
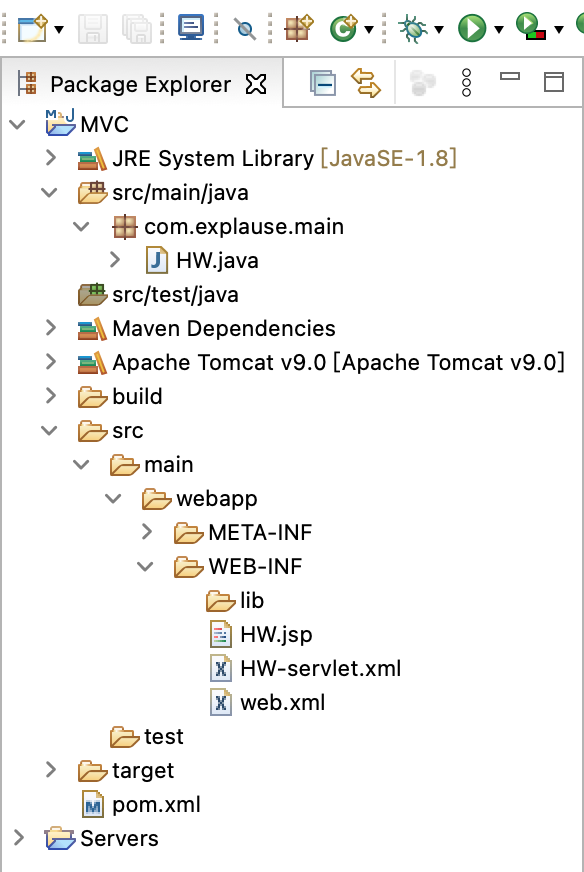
</beans>HW-servlet.xml和web.xml文件放在一起,都在WEB-INF目录下。
然后在WEB-INF目录下新建一个jsp文件:
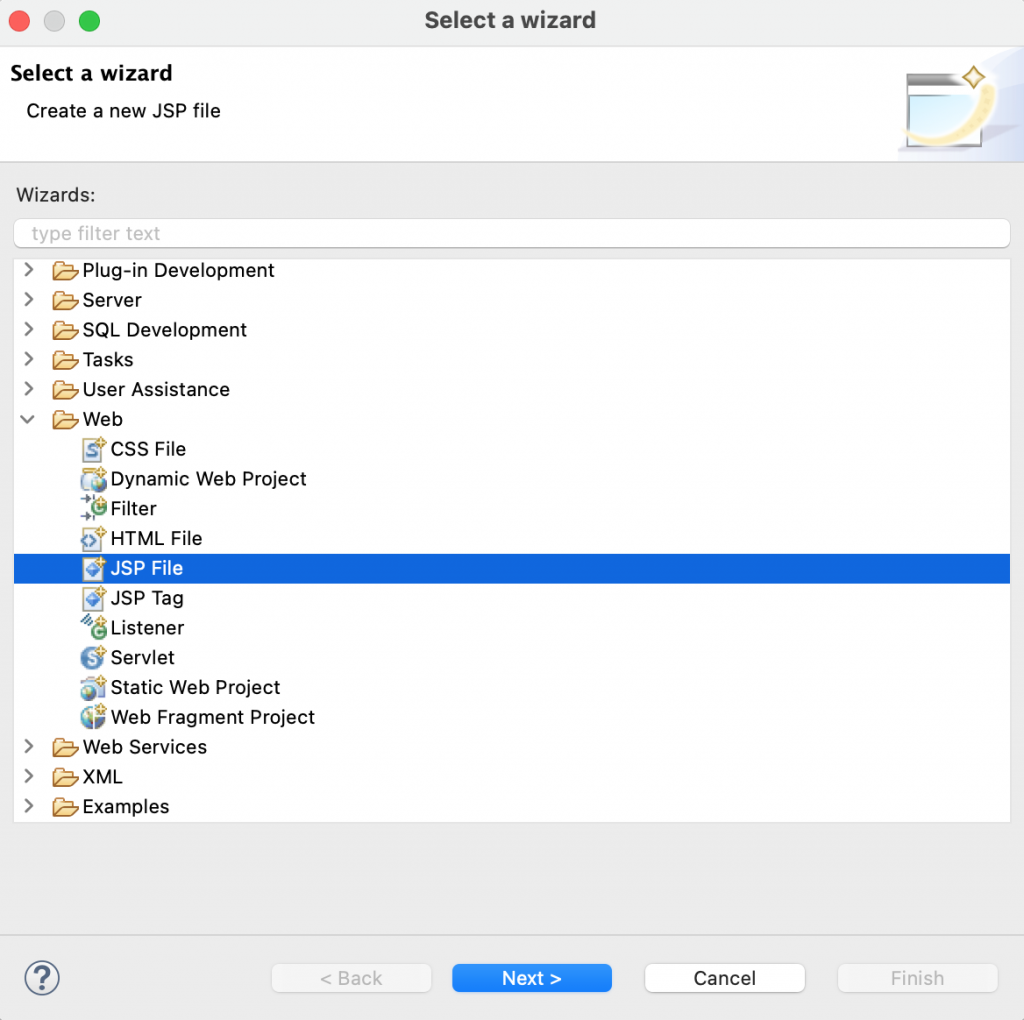
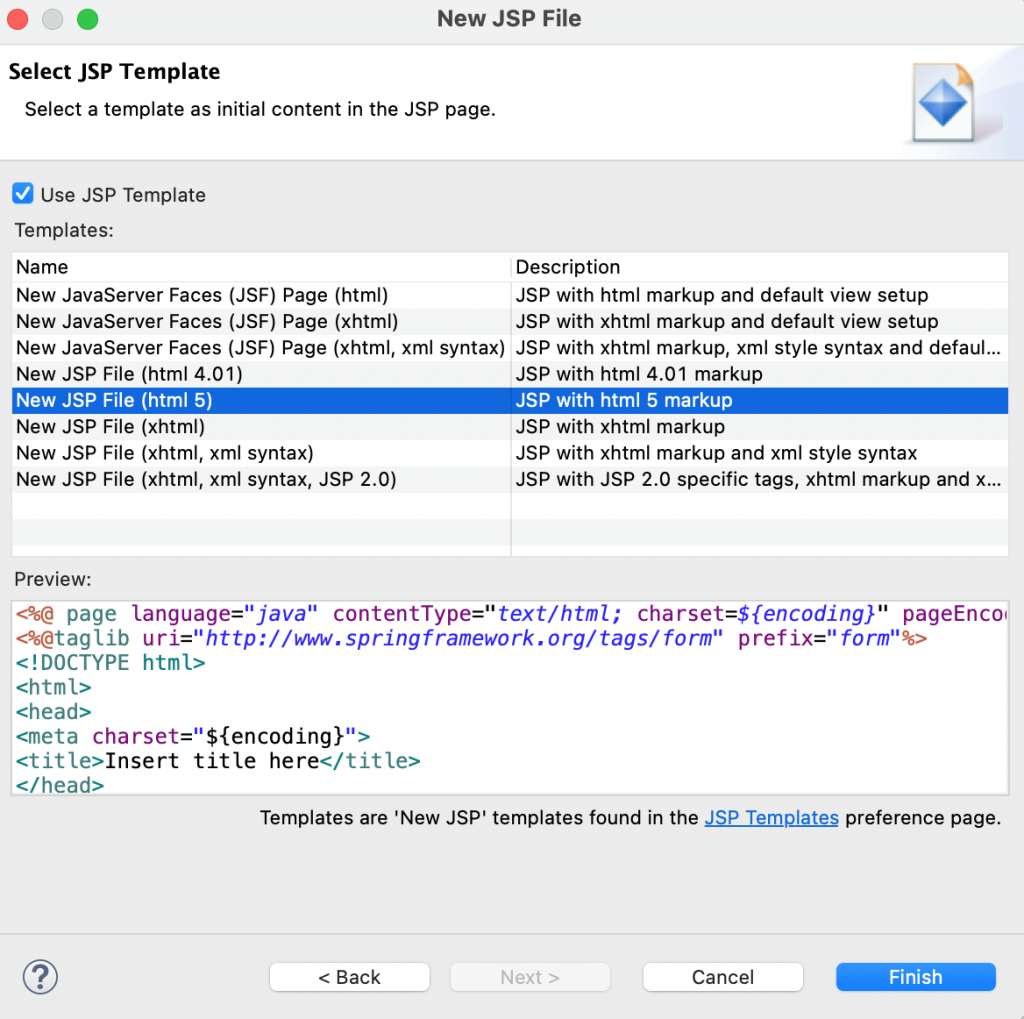
名字叫HW,可以在控制器里面指定。然后选择HTML5模版:
HW.jsp:
<%@ page language="java" contentType="text/html; charset=UTF-8"
pageEncoding="UTF-8"%>
<!DOCTYPE html>
<html>
<head>
<meta charset="UTF-8">
<title>Hello World</title>
</head>
<body>
<h2>${message}</h2>
</body>
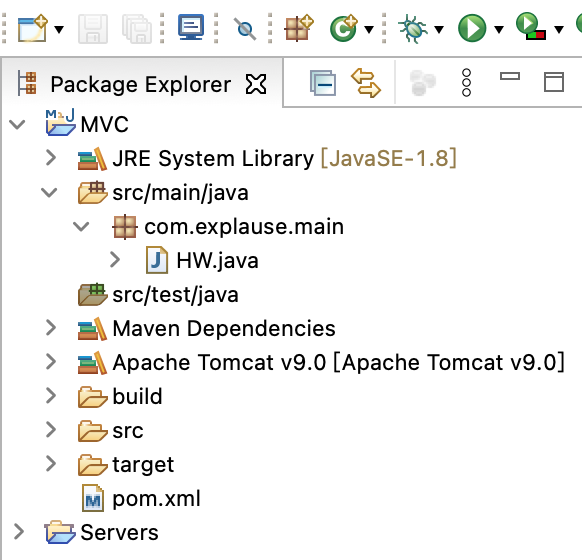
</html>最终目录结构:
然后右键选择项目名,点击Run As,选第一个Maven Build,会弹出一个页面:
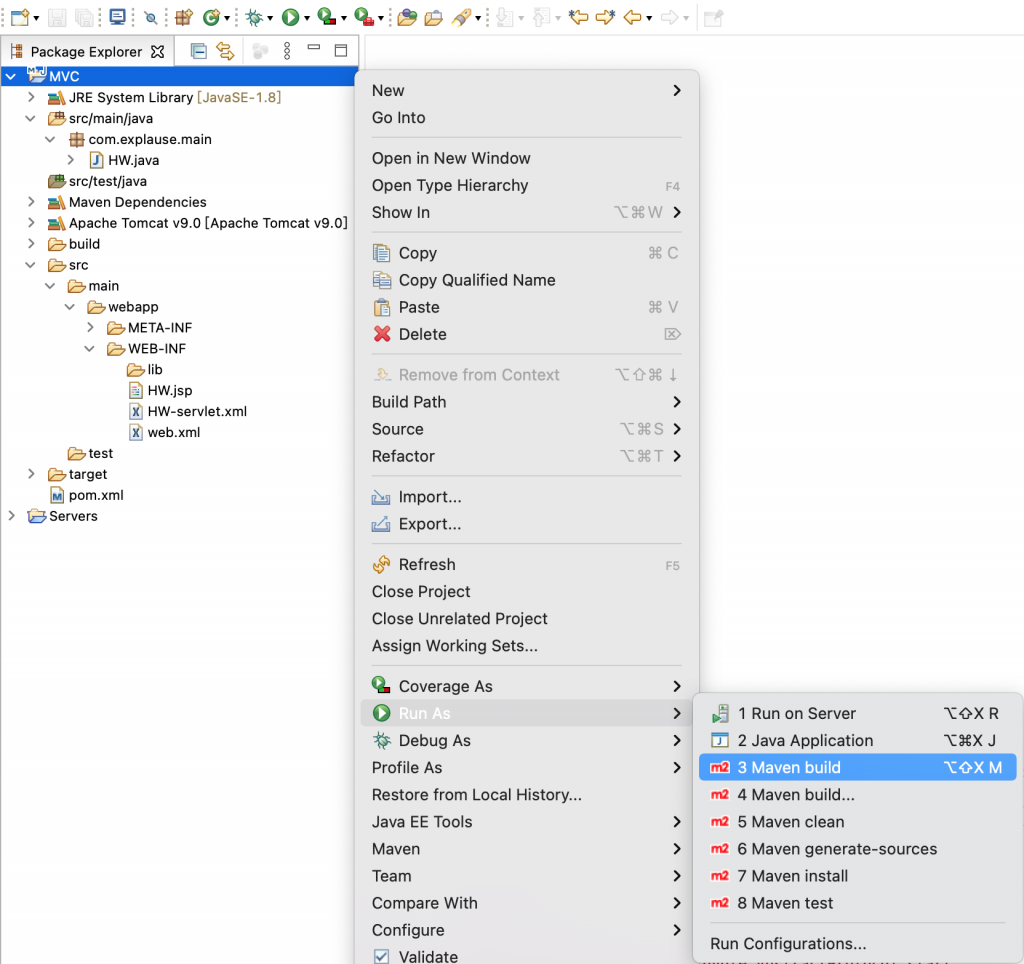
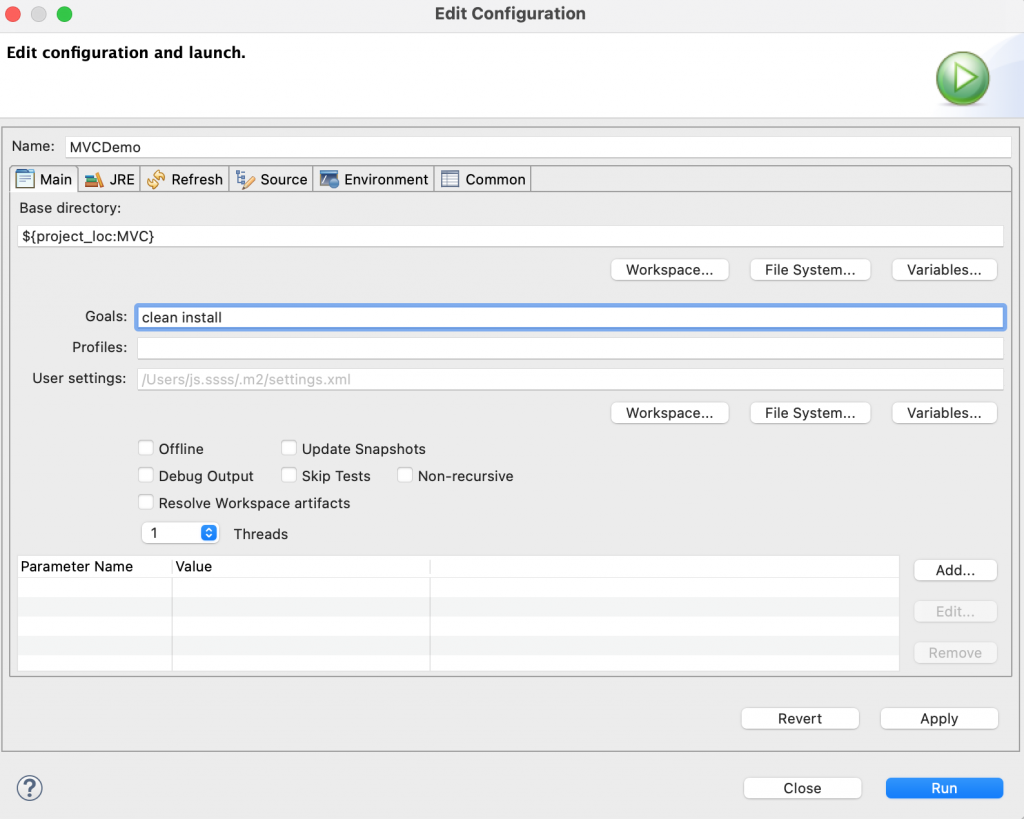
在Goals一栏填入clean,空格,install,再点击Run,Eclipse就能自动生成war包。
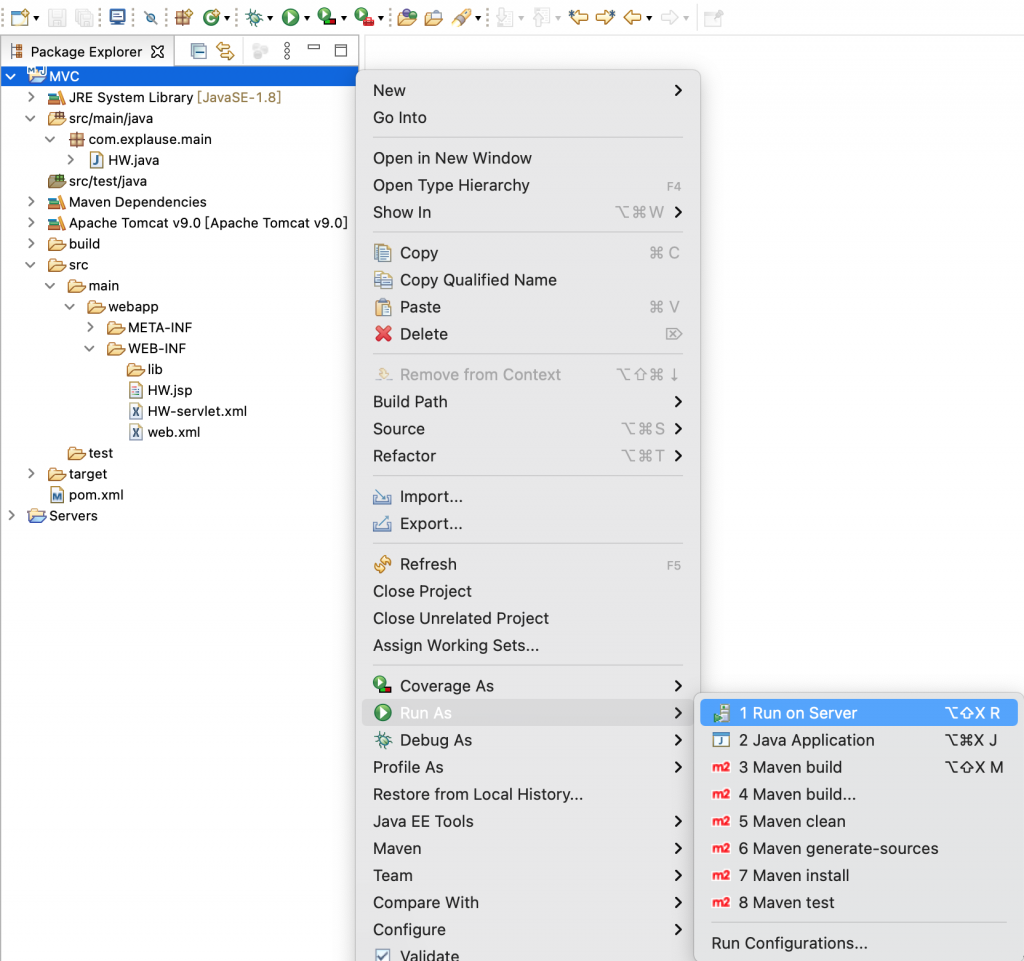
最后右键点击项目名,选Run As,点击Run on Server:
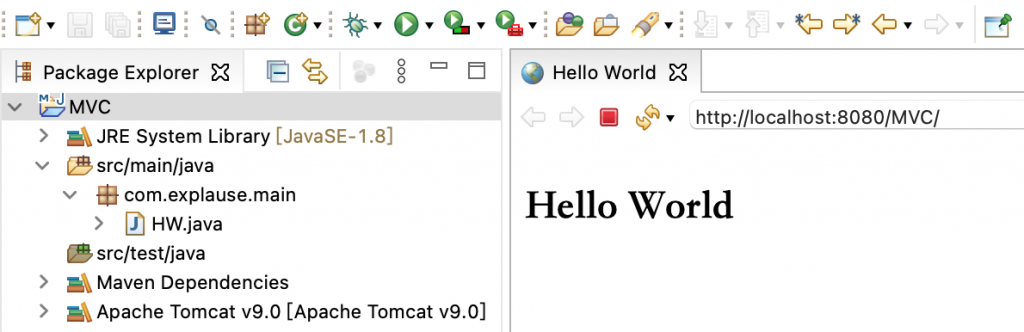
不出意外Eclipse会自动弹出一个浏览器页面,显示输出结果:
如果出问题那就在Run As菜单里先运行Maven clean,再运行Maven install,然后才Run on Server。具体什么原因我也不清楚,可能是bug吧。
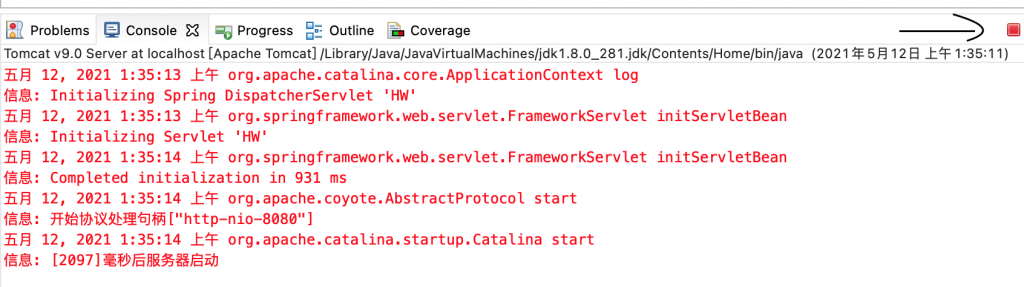
启动后web服务器会一直在后台运行,要关掉的话,点击console这一行右边的红色方形按钮: